Ashly’s Protea™ USB-Enabled System Processors (3.6SP and 4.8SP) manufactured prior to June 2014 may have issues being recognized by some Windows configurations.
These instructions only need to be followed once for each affected SP.
Step 1: Install Protea Software Suite 5.20 (or greater)

If you have not done so already, please Download Protea Software Suite 5.20 (or greater) then install it on your computer.
Step 2: Temporarily Disable Driver Signature Enforcement
Depending on the version of Windows that you’re using, the procedure for disabling driver signature enforcement varies.
Procedure for Windows® Vista and Windows® 7
1. Reboot your computer
2. Hit the “F8” key as Windows starts loading until you see this screen:
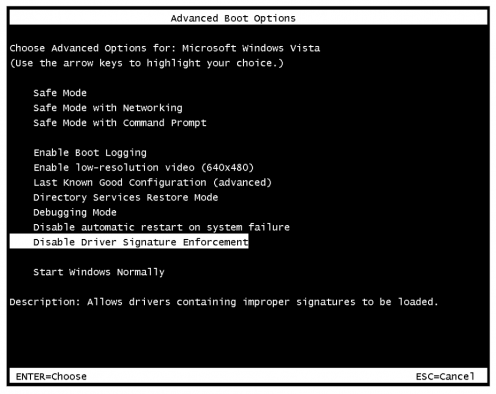
3. Use the arrow keys to choose “Disable Driver Signature Enforcement”
4. Press ENTER to load Windows
Procedure for Windows® 8
1. Press the Win+C keyboard combination to bring up the “Charms Bar” and click on the Setting charm (gear shaped icon)
2. Select “Change PC settings”
3. Select “General”
4. Scroll to the bottom of the General page and select “Restart Now” under “Advanced StartUp”
5. Your computer will now reboot and you should see a blue screen with “Choose an option” on it
6. Select “Troubleshoot”
7. Select “Advanced options”
8. Select “Startup Settings”
9. Select “Restart”
10. You should see a screen listing boot options. Type the number next to “Disable driver signature enforcement.” Your computer will now load Windows
Procedure for Windows® 8.1
1. Press the Win+C keyboard combination to bring up the “Charms Bar” and click on the Setting charm (gear shaped icon)
2. Select “Change PC settings”
3. Select “Update & recovery”
4. Select “Recovery”
5. Under “Advanced startup”, select the “Restart now” button.
6. After reboot and you should see a blue screen with “Choose an option” on it
7. Select “Troubleshoot”
8. Select “Advanced options”
9. Select “Startup Settings”
10. Select “Restart”
11. You should see a screen listing boot options. Type the number next to “Disable driver signature enforcement”
Your computer may now load Windows.
Procedure for Windows® 10 & 11
Step 3: Install Drivers

With driver signature enforcement already disabled, Download our SP legacy driver and unzip file.
First find the executable file labeled “DPInstx64.exe”, right click on the icon and select “Run as Administrator”.
Continue through the Install Wizard and ignore any warnings from Microsoft saying that our driver isn’t registered with Microsoft.
Step 4: Change the Device Driver the SP Uses
Power on your SP and connect a USB cable to your computer. If your computer says it is installing device drivers, please wait until that finishes to proceed.
Launch Ashly’s Control Software (the Ashly icon on your desktop). After it finishes loading, you should see your SP in the “Ashly” folder of the network tree:
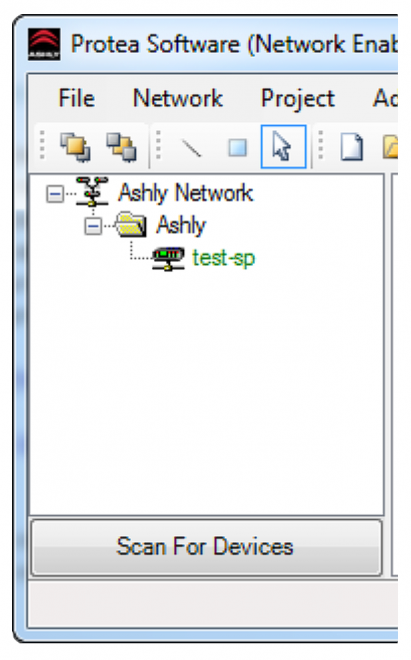
If you do not see your SP under the Ashly folder, click “Scan for Devices”.
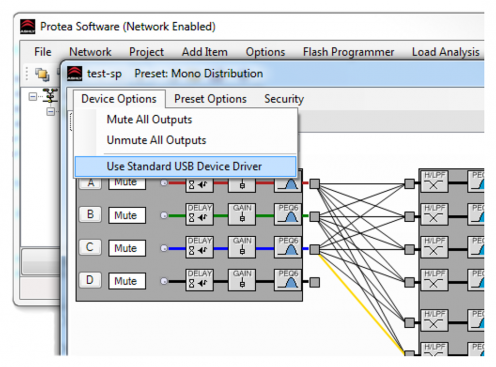
The next step is to double-click on the SP in the device tree. This will bring up the control surface window:
Once you select this Menu option, you’ll see a dialog box that looks like this:
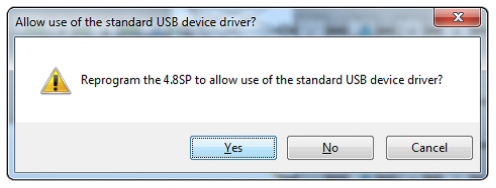
Select “Device Options” from the menu bar, and then select “Use Standard USB Device Driver”
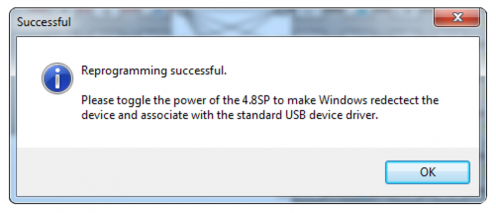
Good to go! If you have any further issue please contact Technical Support.